CDM Forms
CDM Forms are enabled by default for users with the admin role, for all other roles they are disabled. To change this, a staff member with administrator security access will need to go into Security Manager and allow appropriate permissions for the users you want to have access. For more information see Enable CDM Form Access by Role or Enable CDM Form by User.
Create a New CDM Form
- Press and release the Alt key, click Tools and select Edit CDM Forms from the list displayed. The following window is displayed:
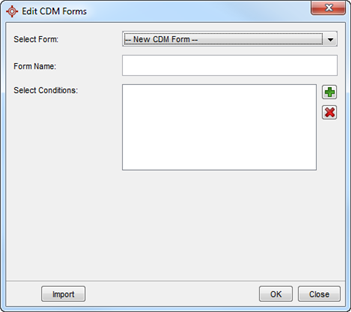
- The New CDM Form is displayed, type in the Form Name and click OK.
- To select a chronic condition associated with this form click the Add button
 :
:
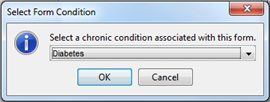
- Click the
 and select from the list displayed and click OK. Repeat as necessary.
- To deselect a chronic condition associated with this form click to select the appropriate condition and click the Remove button
 :
:
- Click OK. The CDM Form Editor is opened.
- Right-click in the Form Structure area to access the menu to edit the form:

- Right-click and select Insert Group to add a group heading to your form.
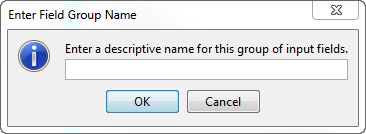
- Type in the name of the group in the Header Label field:
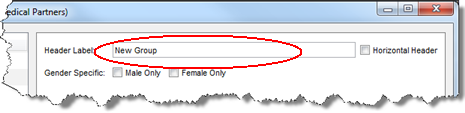
- Click the Male Only or Female Only if you want it to be Gender Specific.
Note: Gender specific groups have a colored background, pink for Female Only and blue for Male Only. Groups with a white/gray background are not gender specific.
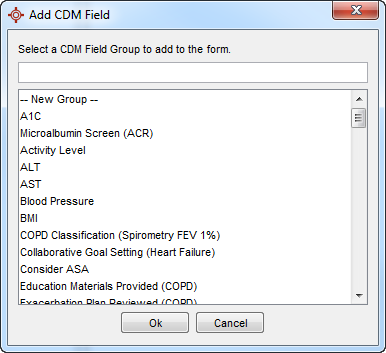
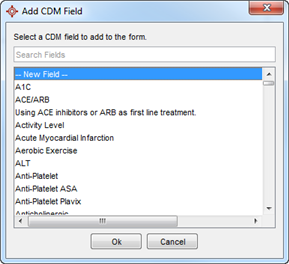
- Right-click and select Insert Fields to add fields into the group headings. The Add CDM Field window is displayed:

- Click to select the appropriate field and click OK.
- Right-click and use the Move Up and Move Down options to sort the order of fields with a group.
Note: The Move up and Move Down options can also be used to rearrange the order of the groups.
- To remove a field, click to select and then right click and select Delete Element. The element you selected has been removed.
- When all the editing of the form is complete, click Save Form to save all your changes.
Edit CDM Forms
- Press and release the Alt key, click Tools and select Edit CDM Forms from the list displayed. The following window is displayed:

- Click the and select the appropriate form from the list displayed.
- Click to select from Global, Office or Physician.
- Click the and select the appropriate office from the list displayed.
- Click the OK button.
- To select a chronic condition associated with this form click the Add button :
- Click the and select from the list displayed and click OK. Repeat as necessary.
- To deselect a chronic condition associated with this form click to select the appropriate condition and click the Remove button .
- Click OK. The CDM Form Editor is opened.
- Right-click in the Form Structure area to access the menu to edit the form:
- Right-click and select Insert Group to add a group heading to your form.
- Type in the name of the group in the Header Label field:
- Click the Male Only or Female Only if you want it to be Gender Specific.
Note: Gender specific groups have a colored background, pink for Female Only and blue for Male Only. Groups with a white/gray background are not gender specific.
- Right-click and select Insert Fields to add fields into the group headings. The Add CDM Field window is displayed:
- Click to select the appropriate field and click OK.
- Right-click and use the Move Up and Move Down options to sort the order of fields with a group.
Note: The Move Up and Move Down options can also be used to rearrange the order of the groups.
- To remove a field, click to select and then right click and select Delete Element. The element you selected has been removed.
- When all the editing of the form is complete, click Save Form to save all your changes.
Add a Popup to a CDM Form
This procedure assumes that you have the CDM form already open (Tools > Edit CDM Forms).
- Right-click on the appropriate heading and select Insert Group.
- In the Header Label field type in the name of the group.

- Right-click on the group just added and select Insert Fields. The Add CDM Window is displayed.
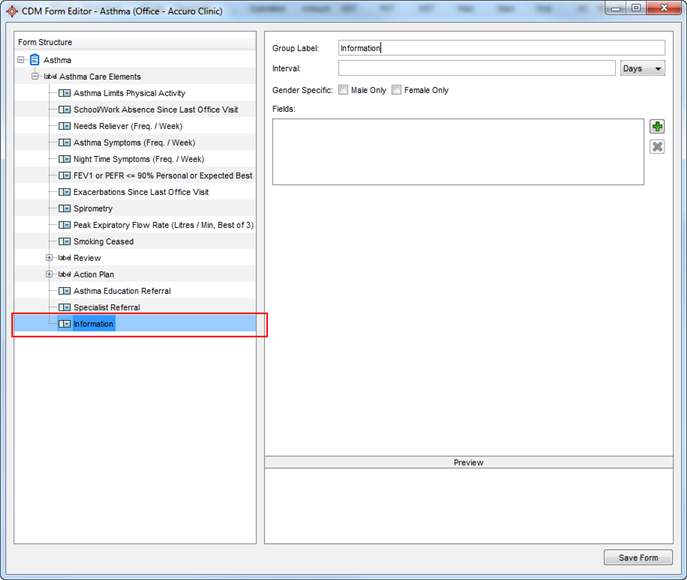
- Select New group and type in the New Group Name.
- In the example below the group name created was called Information.
- In the Fields section in the right-hand side of the window, click the Add button
 .
.
- Select New Field and click OK
- In the Fields section select the new field just added.
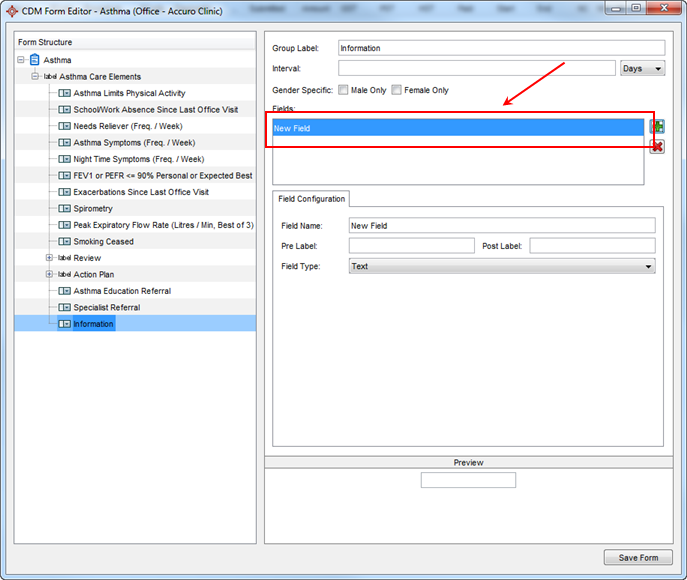
- The Field Configuration section is now displayed below for the information to be added.
- Type in the Field Name.
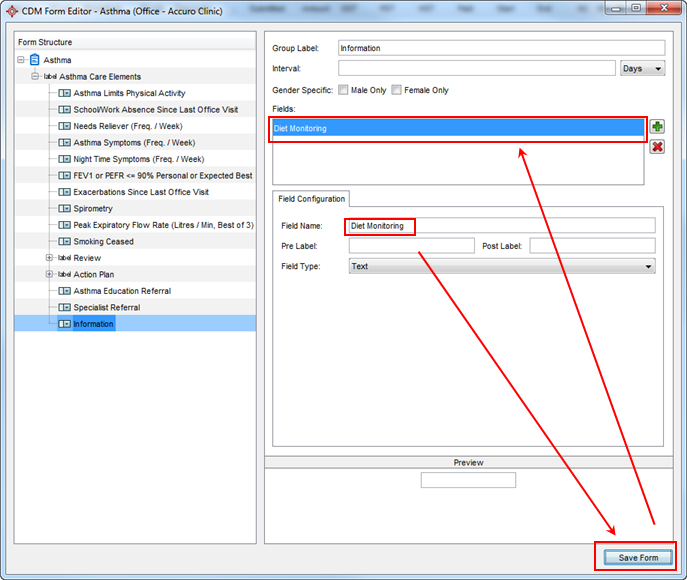
- In the Field Type click the down-arrow and select Information from the list displayed.
- Click the Edit button.
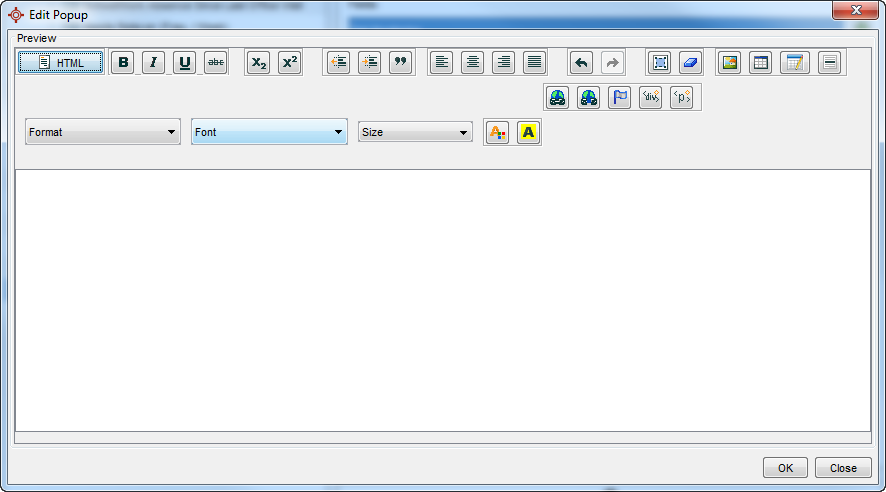
- An editor is displayed where users can add all the information to be displayed in the popup. This can include text, graphics and also links to websites on the internet.
- To add a link to a website, click the Link button
 . The Link window is displayed.
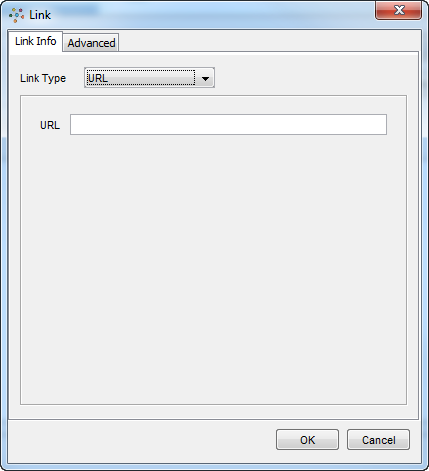
- Select the link type, for a link to an Internet site select URL.
- Type in the address of the website in the blank URL field.
- Click OK to create the link.
- Continue creating the rest of the text until the popup contains all the information required to help the worksheet user.
- Click OK to save the changes
- To preview what the popup will look like, click the i button
 . This is the button that will be displayed on the worksheet when users are accessing it through encounter notes.
Delete Elements from CDM Forms
- Press and release the Alt key, click Tools and select Edit CDM Forms from the list displayed. The following window is displayed:
- Click the and select the appropriate form from the list displayed.
- Click to select from Global, Office or Physician.
- Click the and select the appropriate office or physician from the list displayed if you did not select Global in step 4.
- Click OK. The CDM Form Editor is opened.
- Right-click in the Form Structure area to access the menu to edit the form:
- To remove a field, click to select and then right click and select Delete Element. The element you selected has been removed.
- When all the editing of the form is complete, click Save Form to save all your changes.