Form Editor
Forms are templates used to add information for patients. By creating a form you ensure that there is a consistency and standard of information added to patients EMR. Also by standardizing and using forms as much as possible you also ensure that nothing is missed when obtaining information from patients or when completing forms to refer patients to another Provider.
Forms can include the creation of Lab requisitions, OR booking forms, administrative forms, clinical templates for consultation/follow-up, chronic disease management and pain drawings.
Forms are part of the patient's electronic medical record, providing data input formats specific to each physician, while maintaining data integrity.
Users can create formulae featuring demographic constraints, references to other form fields and have the ability to create algebraic expressions. The value created in the formula can be stored as a lab result and used for trending and graphing, as required.
Create forms to both save time, and increase the effectiveness of your data collection.
Some definitions are important to know before continuing with the Form Editor.
Form: is a screen containing components and elements. A form is opened in the Encounter Notes tab of the EMR.
Element: An element is one item that appears on a form. These include: a text box, a label, a dropdown list, a spreadsheet and a checkbox.
Component: A component is a single grouping of element(s) within a form. Only components can be added to a form and a component must contain at least one element. The purpose of a component is to manage the grouping of elements. Components are listed in the form editor for application to a form. Once on the form, they show up with a light blue border on the screen.
 Create a new form.
 Open the selected form.
 Save changes to the form.
 Delete the selected form.
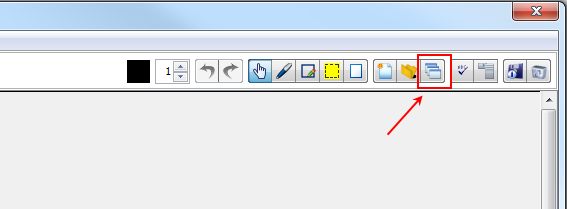
 Bind forms together to make a multi-page form.
 Mark a form as "Under Construction". This prevents the form from being displayed in the Clinical Notes area of Encounter Notes (click again to remove the under construction). When the icon looks like this
  , the form is already marked as under construction.
 Access the Advanced features available on the form.
 Spell check.
 Eraser, to erase areas of the form.
 Highlighter.
 Rectangle, when selected creates a filled rectangle on the form.
 Pen tool, use this to draw on the form.
 Cursor, click this button to return to the cursor after you have been using other tools on the form.
 Undo, click to undo the last item changed on the form.
 Redo, use this tool if something has been undone in error (the button is only green after the undo key has been clicked)
 Brush thickness, the default is one.
 Drawing color, the default is black the color of this box is the color chosen, click to change)
Create a New Form
- Press and release the Alt key, click Tools and select Form Editor from the list displayed.
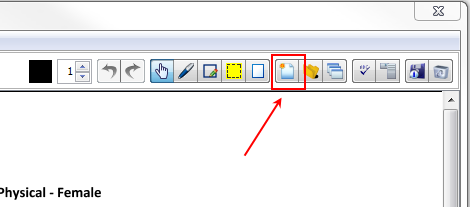
- In the form editor window click the Create a New Form button
 :
:
- The New Accuro Form window is displayed.
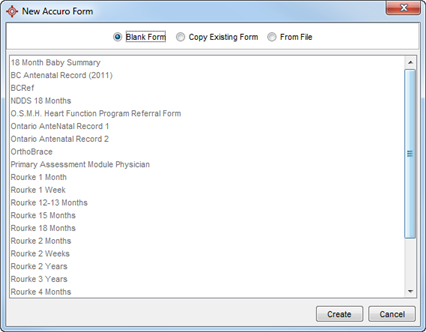
- By default Blank Form is selected, click Create to continue.
- Type in the Title for your form.
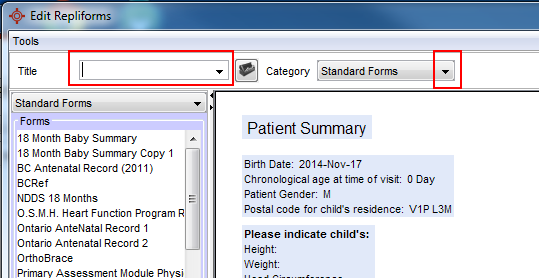
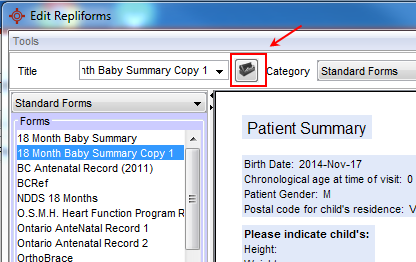
- Click
 and select the Category from the dropdown list displayed.
- The form is now ready to add components. Add elements and functions to create the form. These are different for every form and office and cannot be documented in this procedure. For more specific help on these see Form Elements and Usage and Form Functions.
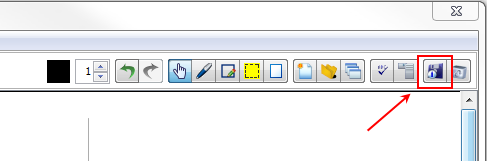
- Click the Save button
 to save all your changes.
Create a Multi-Page Form
- Press and release the Alt key, click Tools and select Form Editor from the list displayed.
- Create each individual page as a separate form. For more help on this see Create a New Form.
- Once all the pages have been created, click to select the first form and click the Bind Forms button
 .
.
The Form Bindings window is displayed:
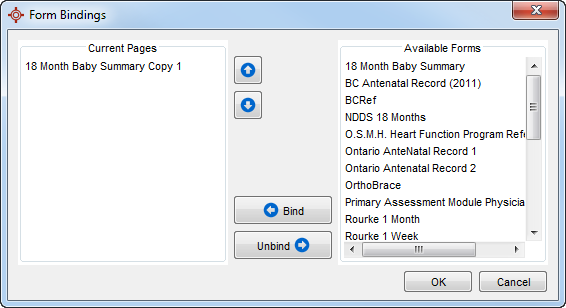
- In the Form Binding window, select the first page of your form from the Available Forms list.
- Click the Bind button
 .
.
- Repeat until all the required pages are listed under Current Pages.
- Use the Arrow buttons
 and to change the order of the pages as required by selecting the page and using the up or down arrows.
- Click OK to save your changes.
Note: When you bind a form, it appears as the title of its first page, and the subsequent pages will no longer be separate forms unless they are unbound.
Unbind a Multi-Page Form
- Press and release the Alt key, click Tools and select Form Editor from the list displayed.
- Click to select the form to be unbound and click the Bind Forms button .
The Form Bindings window is displayed:
- In the Form Binding window, the forms making up the bound form are displayed in the Current Forms list.
- Click to select the page being removed and click the Unbind button
 .
.
- Repeat until all the required pages are removed from the bound form.
- Use the Arrow buttons and to change the order of the pages as required by selecting the page and using the up or down arrows.
- Click OK to save your changes.
Copy an Existing Form
- Press and release the Alt key, click Tools and select Form Editor from the list displayed.
- In the form editor window click the Create a New Form button :
- The New Accuro Form window is displayed.
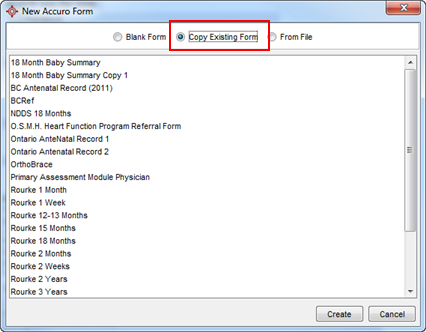
- Click Copy Existing Form.
- Click the form you want to copy and click the Create button.
- Type in the Title for your form, the default is the original form name with Copy 1 added at the end of the filename.
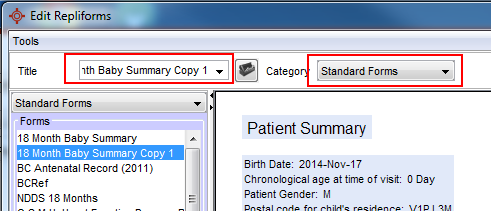
- Click and select the Category from the dropdown list displayed.
- The form is now ready to be edited. Add elements and functions to create the form. These are different for every form and office and cannot be documented in this procedure. Foe more specific help on these see Form Elements and Usage and Form Functions.
- Click the Save button to save all your changes.
Create a Form Using a PDF
- Press and release the Alt key, click Tools and select Form Editor from the list displayed.
- Select the New Form button
 .
.
- Select From File and click Create.
- To the right of the File to Use field click the Search button
 to browse to the location of the PDF File.
- Select the file and click Open.
- In the New Accuro Form window, click Create.
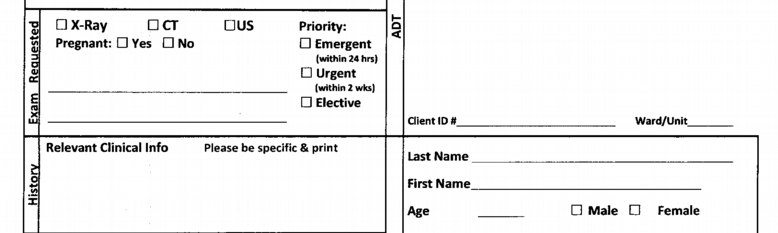
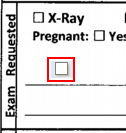
- The PDF is opened in the form editor. Now the components need to be added that match the spaces on the forms (e.g. checkboxes and text fields). For this example see the section of form shown below for examples of how to select and add components.
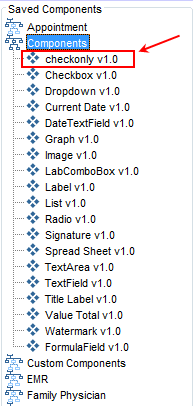
- To add a checkbox, double-click to select Components in the Component section. Find checkonly in the list displayed. This is selected rather than checkbox because the checkbox option includes space for text. The text is already on the form from the PDF that was imported, so checkonly gives the checkbox without any additional text.
- Using the mouse drag and drop the checkbox onto your form. Drop the checkbox onto the form so that you can see it, then take the corner and move the checkbox so that it overlaps the one already on the PDF.
- Once moved, the checkbox can be clicked and a check appears in the box.
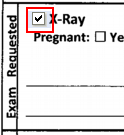
- If the format of the check mark is incorrect right click in the pale-grey border around the checkbox and select Edit.

- In this example the tick is going to be changed to a cross. Click the arrow to the right of the Icon field and select Medium Cross from the list displayed.
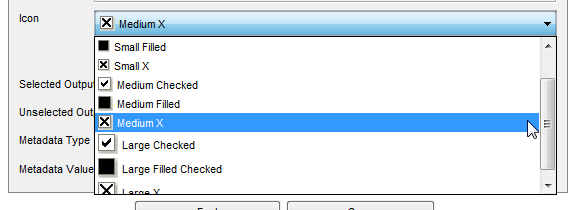
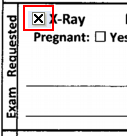
- Click Save and OK to confirm the changes. The checkbox is updated to show the new icon.
- Follow steps 5-10 for the rest of the checkboxes on your form.
- The next step is to add the text boxes to your form. Double-click to select Components in the Component section. Find TextArea in the list displayed. Use TextArea where more than one line of text may be added.
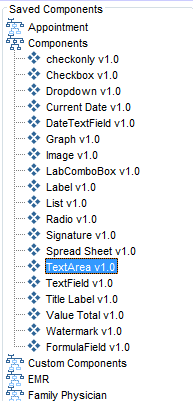
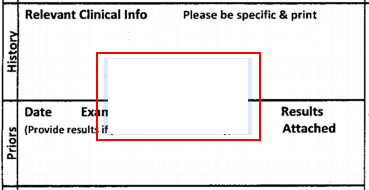
- Using the mouse drag and drop the TextArea onto your form. Drop the TextArea onto the form so that you can see it, then take the corner and move the TextArea into the space.
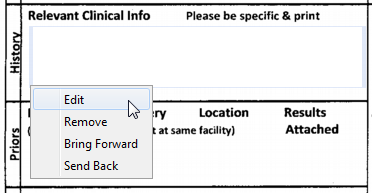
- To get the text to fit the space available, the TextArea needs editing. Right-click on the grey border arnound the TextArea and select Edit
- Use the row and column fields to adjust the height and width of the TextArea.
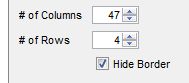
- Click Save and OK to save your changes.
- Repeat steps 12-16 for any other text areas in your form.
- Complete the rest of the blank fields on the form by selecting from the components available in the components section.
- Next complete the fields that take information from a patient's EMR. For this example last name will be used.
- Double-click Patient in the Component section. Find Last Name in the list displayed.
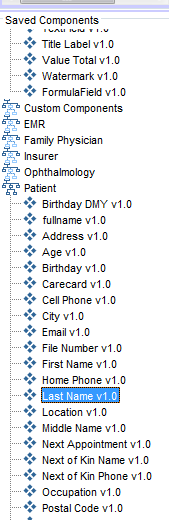
- Using the mouse drag and drop the Last Name onto your form. Drop onto the form so that you can see it, then take the corner and move Last name into the space to the right of last name on your form.
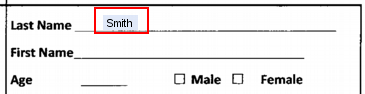
Do not be concerned about the name in the last name field, this is only for the purpose of creating the form. When the form is used for real this field will contain the last name of the global patient currently selected.
- Repeat these steps for any other components that need adding to the form.
- Click the Save button
 to save any changes.
Form Under Construction
An option called Under Construction is located on the form template. When the under construction icon is selected the form is not available for selection in encounter notes. The form only becomes available once the Under Construction icon is deselected. Like other changes to forms, the form must be saved when Under Construction is turned on or off to go into effect.
Use a Form in Encounter Notes
- Click the EMR button
 on the Accuro Navigation bar and click the Encounter Notes tab.
- If a patient has not been loaded, select a patient with the Search Tool.
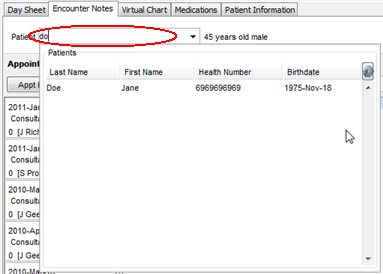
- In the Clinical Notes section, select the form from the templates dropdown list or use the available search tool.
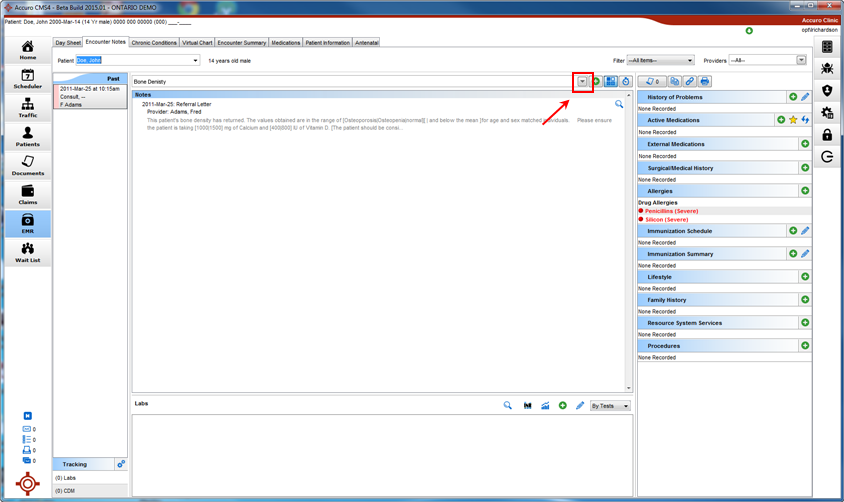
- Click on the title of the form you want to open.
- The form opens on the screen for completion. Complete the form as required and click OK to save your changes. The completed form has been saved to the patient's clinical notes.
Delete a Form
- Press and release the Alt key, click Tools and select Form Editor from the list displayed.
- Click to select the form type where the form you want to delete is stored.
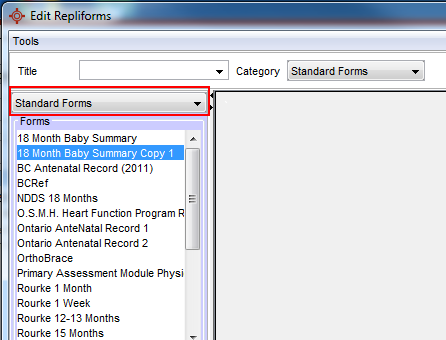
- Click to select the form from the list displayed.
- Click the Delete Selected Form button
 .
.
A message confirming deletion is displayed:
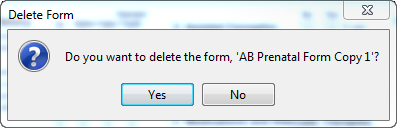
- Click Yes to proceed. The form you selected has now been deleted.
Add Saved Components to a Form
- Press and release the Alt key, click Tools and select Form Editor from the list displayed.
- Click to select the form type where the form you want to add components to is stored.
- Double-click to open the form from the list displayed.
- Double-click the categories in the left side panel containing the component being added.
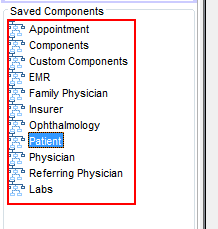
- Select the component that you want to add to your form.
- Drag the component on to the form to the position of choice.
Components can be dragged again, if required. The component appears on the form outlined with a light blue border.
Note: To copy a component on your form hold the CTRL key down while you click and drag the component to its next desired location.
- Click Close when you have finished.