Text Macros
Use the Text Macros feature in Accuro to create shortcuts for repetitive text. Text Macros enable the user to save text and phrases they use regularly under a name. When you select macros and then the name all the text is automatically inserted into your note or letter.
This is an excellent time saving device for all those phrases and notes that you use regularly and would rather not have to type out time after time.
Navigating to the Text Macro Manager
There are multiple ways to access the window within Accuro:
- Press and release the Alt key, or click the Accuro Start Menu, and click Tools and select Template Wizard from the list displayed. The Template Wizard window is displayed. Once the Template Wizard is open, select the Macros tab.

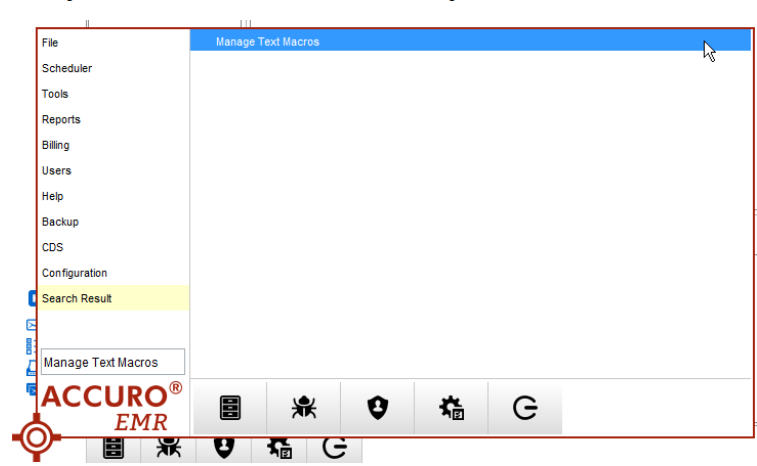
- Press and release the Alt key, or click the Accuro Start Menu, and search Manage Text Macros.
- When writing an Encounter Note, or in any text area where macros can be used, right-click and select Find Macro.

Adding a Manage Text Macros Configure Action Button
For an even quicker method to access Text Macros, a Configure Action button can be easily added to the Action bar.
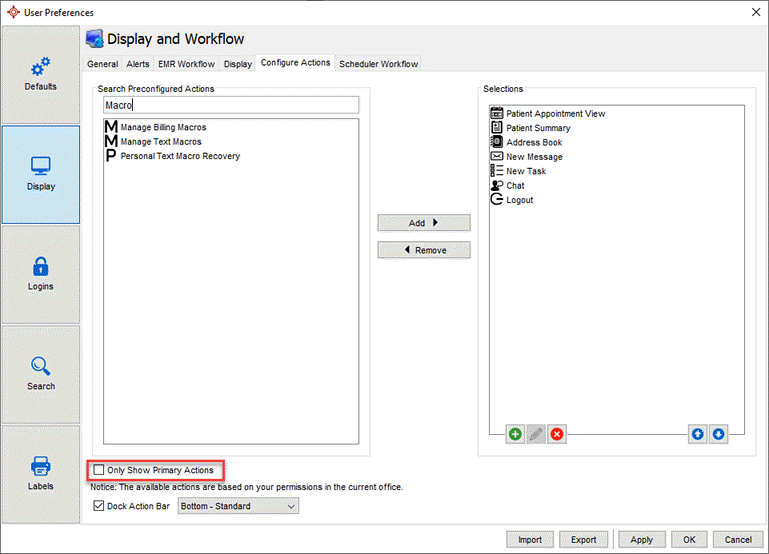
- In the Accuro Start Menu, select File and then User Preferences.
- In the Display section, select Configure Actions.
- Disable the Only Show Primary Action option below.
- Search for Macro in the search field and select Manage Text Macros.
- Click Add to move this to the Selections panel.
- To save, click Apply and then OK.
Creating a Text Macro
There are 2 ways to create a Text Macro.
Method 1:
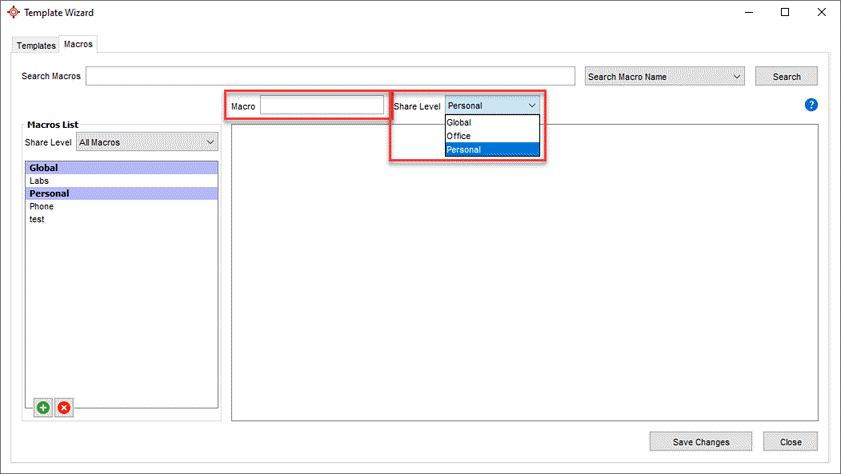
- Navigate to the Text Macro Manager.
- Click
 to create a new Macro.
Note: Macro names are case sensitive.
- Enter a name into the Macro field and select the desired Share Level.
- Edit the macro within the body of the window as desired. To learn more about some of the advanced tools you can use within macros please see Create Clickable Words and Manage Tags.
- Click the Save Changes button
 to save any changes made to the macro.
Note: If there are no changes that have been made, this button will be greyed out.
- Click the Close button
 in the bottom right corner to exit the Text Macro window.
Note: If attempting to close the Text Macros window before saving, a pop-up will display prompting the user to save their changes.
Method 2:
- When writing an Encounter Note, or in any text area where macros can be used, right-click and select Save as Macro.
- The "New Macro" window will allow the Macro name and Share Level.
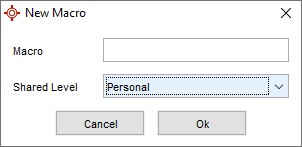
- Click Ok to save.
Choosing the Text Macro Share Level and Enabling Permissions
There are different share levels available in the Text Macro Manager. These levels dictate whether the macro will be available to an individual user, a specific office in the database, or everyone on the database. If a user does not have access to a particular share level, the body of the Macro in the "Text Macro Manager" will be greyed out and un-editable by the user.
- Global Macros are available to be used for the entire Accuro database. They are not accessible for all users by default. However, permission can be given by System Administrator through Accuro Menu > Users > Manage Security > Feature Access > EMR section > enable Manage Global Macros.
- Office Macros can be shared across all the offices or specific offices of choice in the database. They are not accessible for all users by default. However, permission can be given by System Administrator through Accuro Menu > Users > Manage Security > Feature Access > EMR section > enable Manage Office Macros.
- Personal Macros are only accessible per user. They can be accessed by users with no permissions needing to be enabled.
Once a user has permission to Office and Global Macros, all the previously existing Macros will be available. Macros can be edited or deleted by any user who has these permissions.
Using Text Macros
A text macro can be used in almost all text fields within Accuro. For example, within a Note, Appointment Details in the Notes section, etc.
- Within the desired text field, type the name of the macro.
- Use your keyboard to select CTRL + Enter.
- The text macro will automatically populate.
OR
- Within the desired text field, right-click and select Find Macro.
- Search and select the desired text macro.
Searching for Text Macros
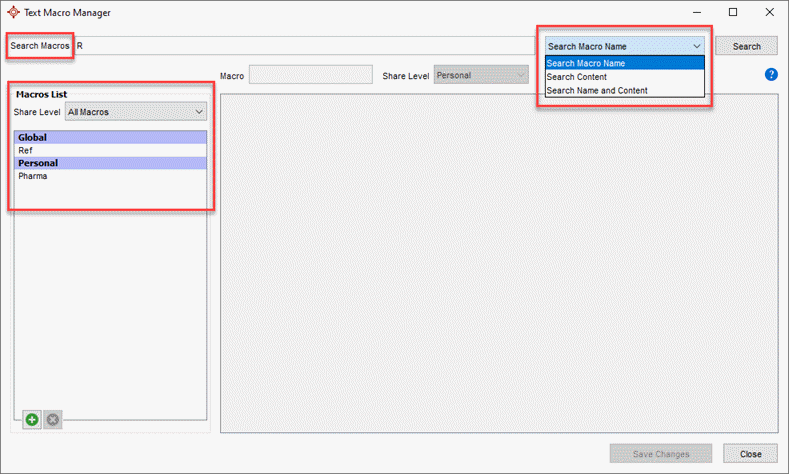
- Chose from the dropdown what you would like to search by - Macro Name, Content, or Name and Content.
- Type the name or keywords of the text macro you are looking for. The Macro List will begin to filter as you type.
In the below example, the user began to search with the letter R. All macros with the letter R in the name populated in the Macro List.
Editing a Text Macro
- Navigate to the Text Macro Manager.
- Search and select the desired text macro.
- Edit the text of the macro, as required. To learn more about some of the advanced tools you can use within text macros please see Create Clickable Words and Manage Tags.
- Click the Save Changes button in the bottom left corner to save any changes.
Note: If there are no changes that have been made, this button will be greyed out.
- Click the Close button
 in the bottom right corner to exit the Text Macro Manager window.
Note: If attempting to close the Text Macros window before saving, a pop-up will display prompting the user to save their changes.
Deleting a Text Macro
- Navigate to the Text Macro Manager.
- Search and select the desired text macro.
- Click the Delete button
 . A confirmation message is displayed.
- Click Yes to proceed with deleting the macro. The macro has been deleted.
Personal Text Macro Recovery Report
A System Administrator can generate a CSV report for users' Personal Text Macros. The report will contain the Text Macro name, content, creator username, and if they are active or not.
- Navigate through the Accuro Start Menu, Tools, and then Personal Text Macro Recovery.
- Name the file and the location where the report will be saved.
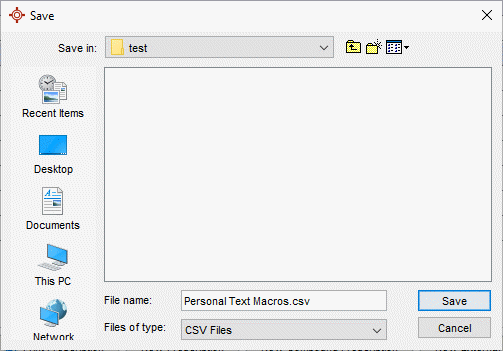
- Click Save.
If a Text Macro is inadvertently changed to Personal Macro rather than a Global Macro then the report can be used to copy and paste the content to create a new Global Text Macro. Alternatively the initial creator of the Text Macro can be asked to to mark it the Macro as Global.
Note: It is recommended that users create this report after clinic hours to avoid clinic interruption.