Lab Tests
This is the area of Accuro where you can set up your Lab Tests. Tests that have (Optimed) after them are provided in Accuro, tests with (Manual) after them have been created by your office. To access lab tests follow the procedure below:
- Press and release the Alt button on the keyboard, click Configuration and select Configure Lab Tests. The Lab Tests window is displayed.
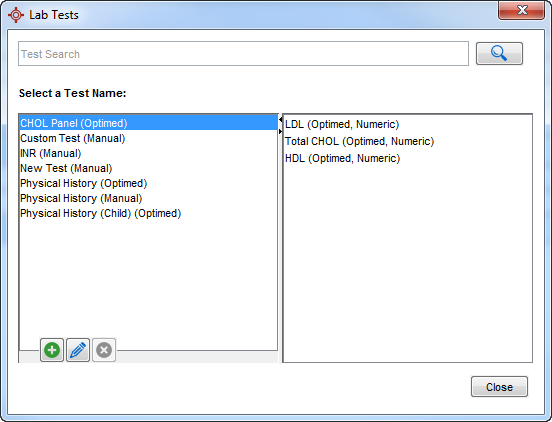
- To search for a test, type in the test name and click the Search button
 .
.
Edit a Lab Test
- Press and release the Alt button on the keyboard, click Configuration and select Lab Tests. The Lab Tests window is displayed.
- To search for a test, type in the test name and click the Search button .
- Select the appropriate test in the left-hand side of the window and Click the Edit button
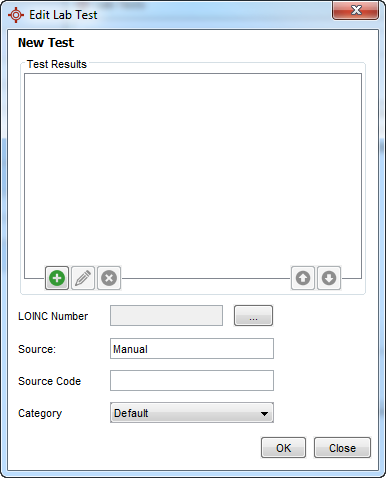
 . The Edit Lab Test window is displayed.
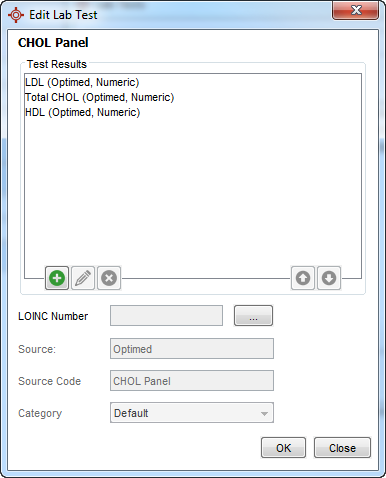
- To add a test result click the Add button
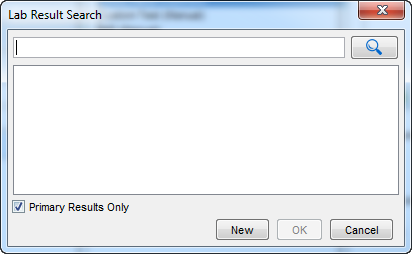
 . The Lab Result Search window is displayed.
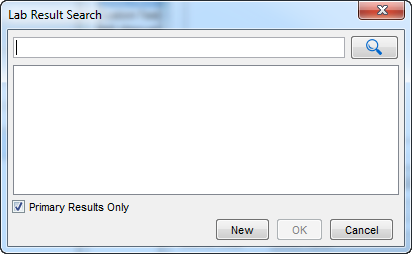
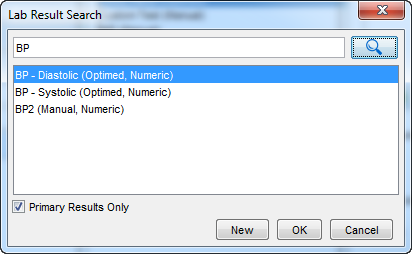
- Type in the name of the test and click the Search button . The results are displayed in the window.
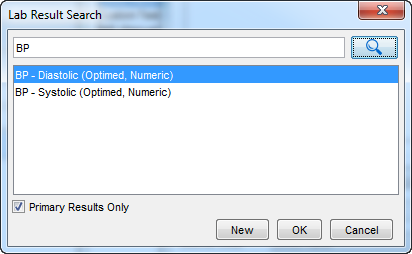
- Select the appropriate lab result and click OK. Repeat these steps if you have more results to add.
- If the result is not on the list displayed click the New button. The Input window is displayed, the name defaults to the lab result name being searched for in the previous window.
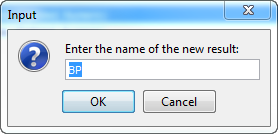
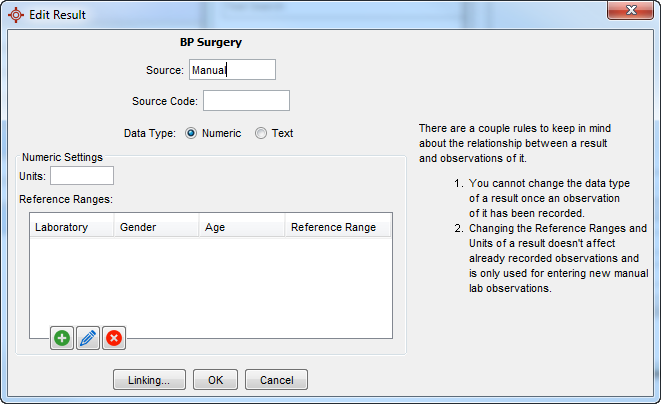
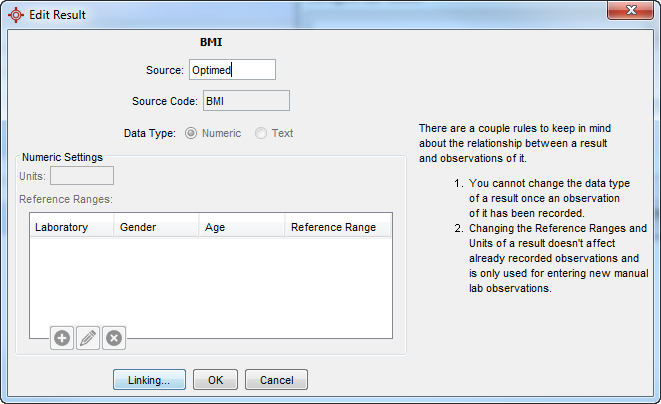
- Type in a different name, if required and click OK. The Edit Result window is displayed.
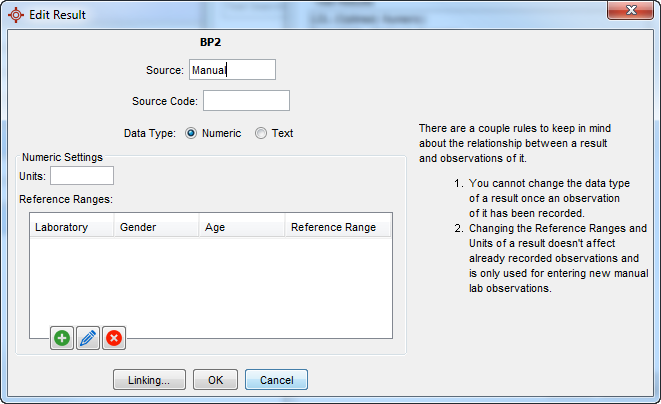
- Complete the information as required for the lab result.
- If you require the result to be linked, click the Linking button. A warning that any changes you have made to the result till be saved is displayed, click Yes. The Lab Result Linking window is displayed.
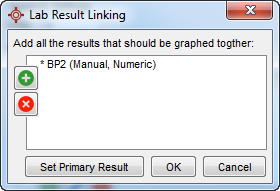
- Click the Add button and search for the results to be linked.
- Click OK to save the changes.
- Click OK until you are returned to the original Edit Lab Test window.
- To change the oder of any of the test results, click to highlight the result and use the arrows
 to move the result up or down the list of results.
- Add the LOINC number, Source, Source Code and Category, if required. Note if the test results are already present these will already be completed and greyed out.
- To delete a test result, click to select the test result and click the Delete button
 .
.
- To edit a test result , click to select the test result and click the Edit button .
- Click OK to save and leave the Edit Lab Test window.
- In the main Lab Test window, click Close.
Add a Lab Test
- Press and release the Alt button on the keyboard, click Configuration and select Lab Tests. The Lab Tests window is displayed.
- Click the Add button. The input window is displayed.
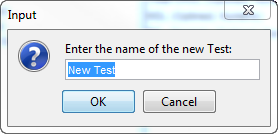
- Type in the name of the new test and click OK. The Edit Lab Test window is displayed. The Edit Lab Test window is displayed.
- To add a test result click the Add button . The Lab Result Search window is displayed.
- Type in the name of the test and click the Search button . The results are displayed in the window.
- Select the appropriate lab result and click OK. Repeat these steps if you have more results to add.
- If the result is not on the list displayed click the New button. The Input window is displayed, the name defaults to the lab result name being searched for in the previous window.
- Type in a different name, if required and click OK. The Edit Result window is displayed.
- Complete the information as required for the lab result.
- If you require the result to be linked, click the Linking button. A warning that any changes you have made to the result till be saved is displayed, click Yes. The Lab Result Linking window is displayed.
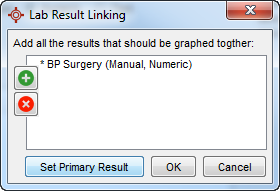
- Click the Add button and search for the results to be linked.
- Click OK to save the changes.
- Click OK until you are returned to the original Edit Lab Test window.
- To change the oder of any of the test results, click to highlight the result and use the arrows
 to move the result up or down the list of results.
- Add the LOINC number, Source, Source Code and Category, if required. Note if the test results are already present these will already be completed and greyed out.
- To delete a test result, click to select the test result and click the Delete button .
- To edit a test result , click to select the test result and click the Edit button .
- Click OK to save and leave the Edit Lab Test window.
- In the main Lab Test window, click Close.
Edit Lab Results
Lab results can be edited using the Lab Results option. This allows users to search and locate individual labs in the EMR and locate the appropriate test without having to go into a patient's EMR.
To edit a patient's lab result follow the procedure below:
- Select the appropriate patient.
- Press and release the Alt button on the keyboard, click Configuration and select Configure Lab Results from the list displayed. The Configure Lab Results window is displayed.
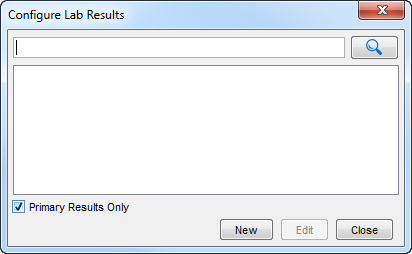
- Type in the name of the test and click the Search button .
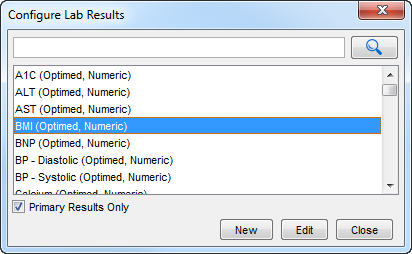
- Click to select the test in the list displayed and click Edit. This opens the Edit Result window.
- Click OK to save any changes.
Note: For results that should be graphed together click the Linking button, add the results that should be graphed together and then click OK.