Roles are the 'jobs' that staff in your office undertake. Some of these roles are standard to Accuro but you can create roles to suit your specific office requirements.
Within each role it is defined what level of access staff members performing that role have within areas of Accuro. The access options available are:
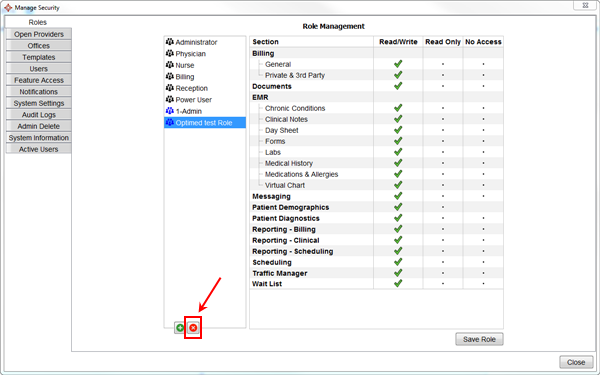
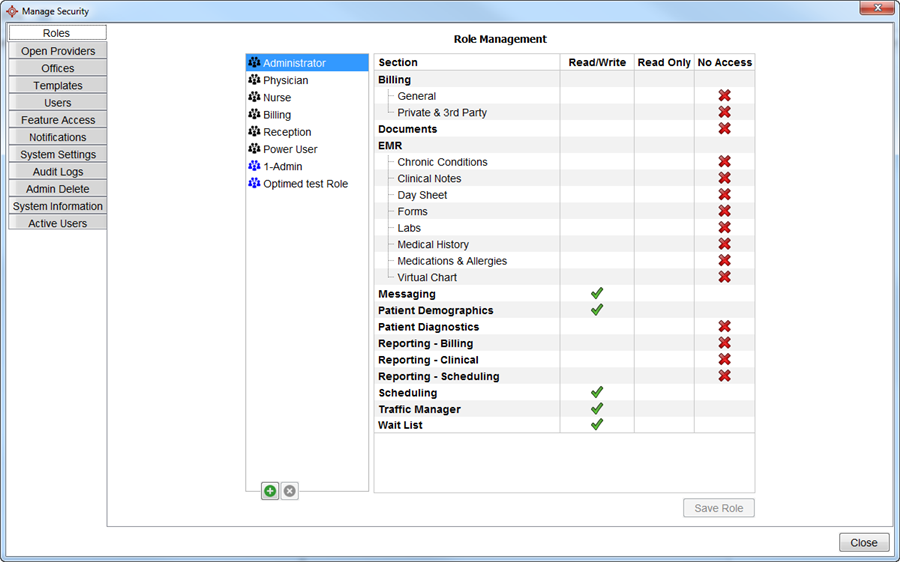
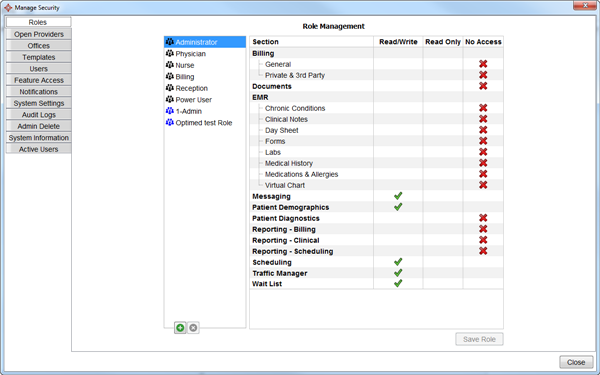
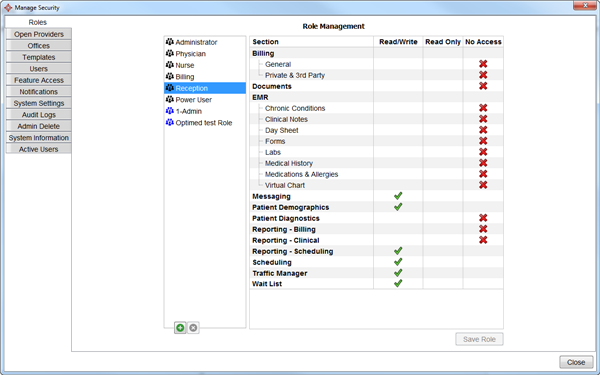
The Roles window is divided into two. The left-hand column lists all the roles in your clinic. When you select a role, the right-hand side displays the level of access that your clinic has agreed on for that specific role.
|
Accuro EMR Feature: |
Feature Definitions |
||
|
|
|||
|
Billing
|
General |
Determines if a user/role sees the Claims section. |
|
|
Private & 3rd Party |
Determines if a user/role has access to Private Billing tab in Patient section. |
||
|
Documents |
Determines if a user/role has access to the Documents section. "Read-Only" will leave the Document button in the Encounter Notes tab, but will not allow user to file or send documents. "No Access" will remove the Document button from the Encounter Notes tab, but still allow user to view scanned documents in Virtual Chart. |
||
|
EMR
|
Chronic Conditions |
Determines if a user/role has access to the Chronic Conditions tab. |
|
|
Clinical Notes |
Determines if a user/role has access to the Clinical Notes area in the Encounter Notes tab. |
||
|
Day Sheet |
Determines if a user/role has access to the Day Sheet tab. |
||
|
Forms |
Determines if a user/role has access to the forms within the dropdown in the Encounter Notes section, but the user can still see forms that have been "saved" within the Virtual Chart. |
||
|
Labs |
Determines if a user/role has access to the Labs area in the Encounter Notes tab, but the user can still see labs that have been "saved" within the Virtual Chart. |
||
|
Medical History |
Determines if a user/role has access to ALL Medical History bands. |
||
|
Medications & Allergies |
Determines if a user/role has access to the Medications bands (Active & External) and Allergy band. |
||
|
Virtual Chart |
Determines if a user/role has access to the Virtual Chart tab and F3. |
||
|
Messaging |
Determines if a user/role has access to the Home section (Mail & Tasks). If no access, user can still send task via F7 and within the Virtual Chart (right-click, send task). |
||
|
Patient Demographics |
Determines if a user/role has access to the Patient section. |
||
|
Patient Diagnostics |
Determines if a user/role has access to all Medical History bands EXCEPT Medications, Allergies & Immunizations. |
||
|
Reporting - Billing |
Determines if a user/role has access to Billing Reports within the Reporting menu. |
||
|
Reporting - Clinical |
Determines if a user/role has access to Clinical Reports within the Reporting menu. |
||
|
Reporting - Scheduling |
Determines if a user/role has access to Scheduling Reports within the Reporting menu. |
||
|
Scheduling |
Determines if a user/role has access to the Scheduler section. |
||
|
Traffic Manager |
Determines if a user/role has access to the Traffic Manager section. |
||
|
Waitlist |
Determines if a user/role has access to the Waitlist section. |
||
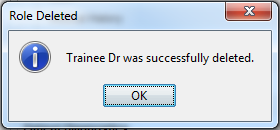
Note: Take care when deleting a role as no warning message is given before the role is deleted.