Cancellation List
The Cancellation List is used to record patients requesting short-notice appointments. These appointments usually become available as a result of another patient cancelling an appointment.
By default Accuro filters by priority placing urgent cases at the top of the list and low priority at the bottom. The priorities available are:
Patients can be filtered by:
- Patient
- Reason
- Priority
- Provider
Select by ascending or descending order by clicking the appropriate heading. An arrow is displayed in the heading to show that filtering is by this heading and also to show whether the order is ascending or descending.
Note: It is possible for a patient to have more than one entry on the cancellation list.
Access the Cancellation List
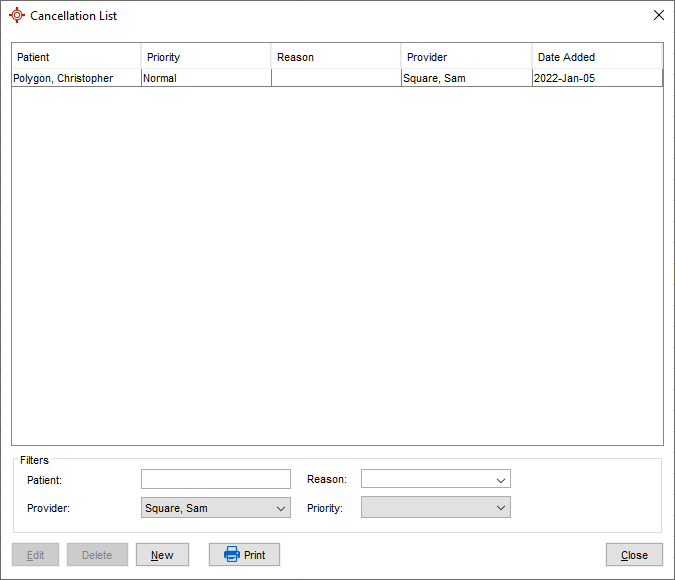
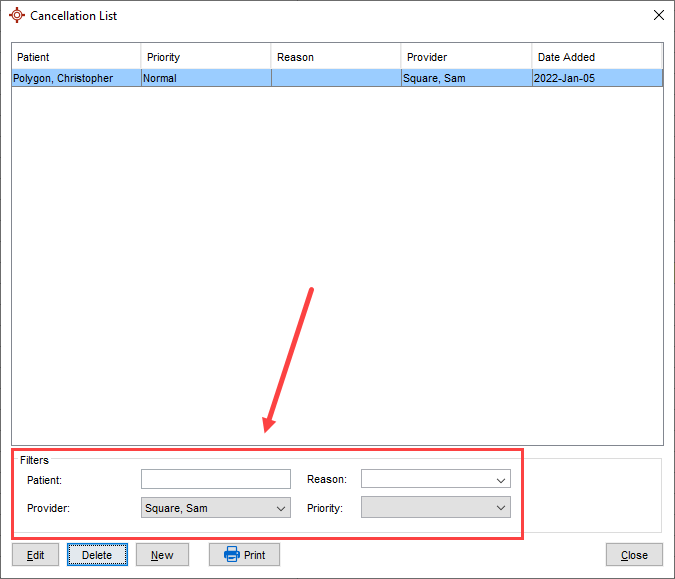
Press and release the Alt button on the keyboard or click the Accuro Start Menu  , click Scheduler and select Cancellation List from the list displayed. The Cancellation List is displayed:
Add a Patient to the Cancellation List
- Press and release the Alt button on the keyboard or click the Accuro Start Menu , click Scheduler and select Cancellation List from the list displayed.
- Click New located at the bottom-left of the Cancellation List window.
- Select a Reason from the dropdown list
 .
.
- Select a Priority from the dropdown list .
- Select a Provider from the dropdown list , if applicable.
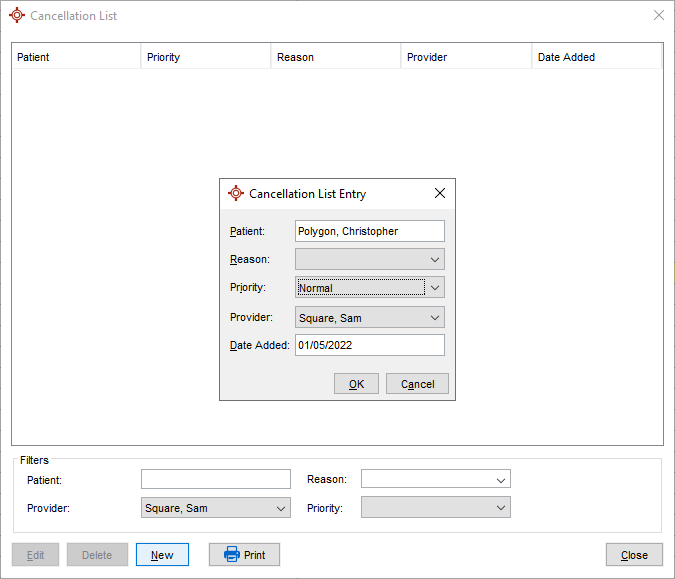
- Click OK to save.
Edit a Patient's Details on the Cancellation List
- Press and release the Alt button on the keyboard or click the Accuro Start Menu , click Scheduler and select Cancellation List from the list displayed.
- Click to select a patient from the list:
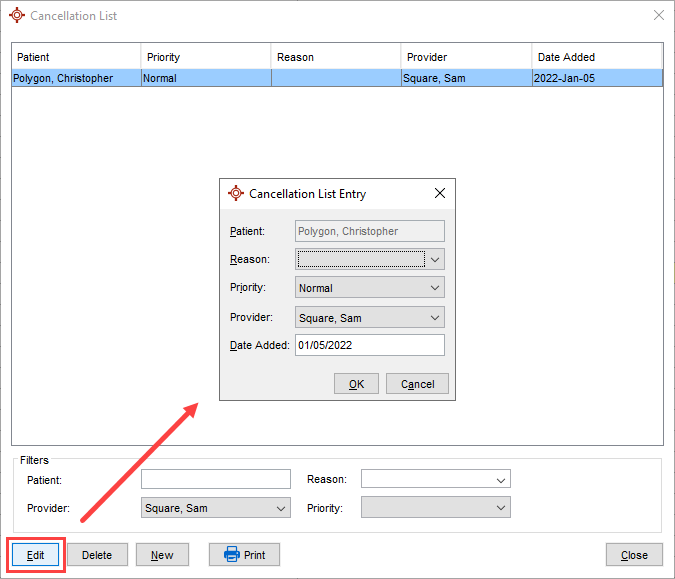
- Click Edit.
- Make any required changes, as required.
- Click OK to save any changes.
Delete a Patient from the Cancellation List
- Press and release the Alt button on the keyboard or click the Accuro Start Menu , click Scheduler and select Cancellation List from the list displayed.
- Select a patient from the list
- Click Delete. A Confirm Removal message is displayed:
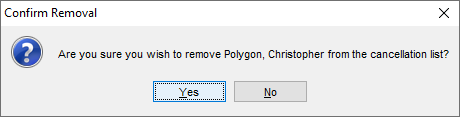
- Click Yes, to confirm the deletion. The entry has been removed from the cancellation list.
Filtering a Patient on the Cancellation List
Patients can be filtered by Name, Provider, Reason and Priority. By default Accuro filters by priority placing urgent cases at the top of the list and low priority at the bottom.
- Press and release the Alt button on the keyboard or click the Accuro Start Menu , click Scheduler and select Cancellation List from the list displayed.
- Click the arrow to the right of filter to be used and select from the list displayed:
Search for a Patient on the Cancellation List
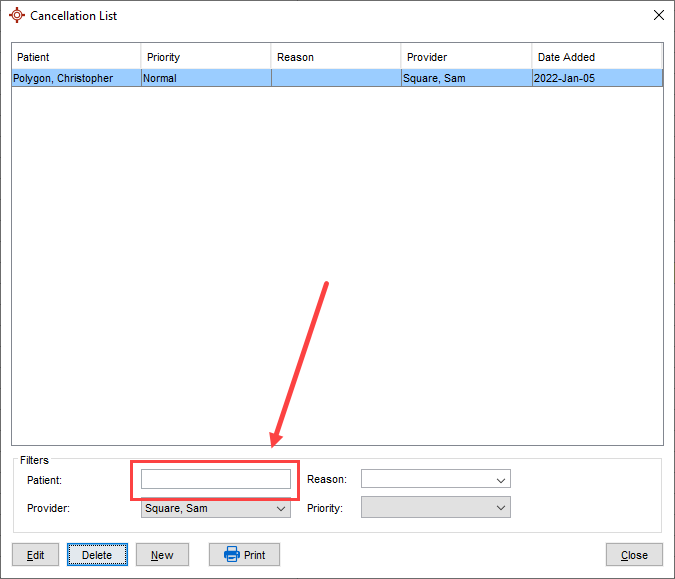
- Press and release the Alt button on the keyboard or click the Accuro Start Menu , click Scheduler and select Cancellation List from the list displayed.
- Type in the name of the patient and select from the list displayed:
- Only entries for the selected patient are displayed:
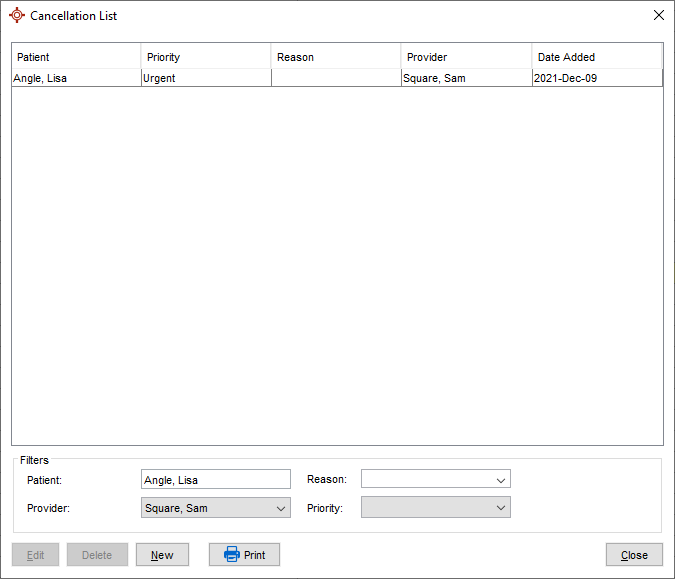
Note: It is possible for a patient to have more than one entry on the cancellation list.
Print the Cancellation List
- Press and release the Alt button on the keyboard or click the Accuro Start Menu , click Scheduler and select Cancellation List from the list displayed.
- Click the Print button.
Create an Appointment for a Patient on the Cancellation List
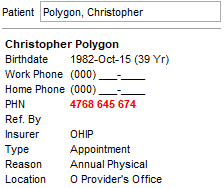
If a patient is on the Cancellation List, and an appointment is created for that patient, an alert box appears letting the user know that the patient is on the list.
- Click the Scheduler button
 on the Navigation bar.
- If a patient has not been loaded, select a patient with the Search Tool in the upper-right corner.
- Point to the time slot the appointment begins in.
- Click and drag to the time slot the appointment ends in.
- Right-click within the highlighted space and select Create Appointment.
Note: The following shortcut keys can be used to make an appointment for the patient currently selected: Shift+Enter, Ctrl+S, or on the Menu bar, click Scheduler and select Create Appointment.
Thee Cancellation List details for the selected patient are displayed.
- Click on the entry to highlight it, and click Select. The appointment is made and the patient is removed from the cancellation list.
Note: If a patient has more than one entry on the cancellation list, the other entries remain unchanged.