Optional Label Printing Module
An optional Label Printing module is available in Accuro. If clinics require this module it has to be enabled by Optimed. Once the module is enabled users can use it to set up their labels, margins etc as required.
Set up the Optional Label Printing Module
- Press and release the Alt button on the keyboard, click File and select User Preferences from the list displayed.
- Click the Label button.
- Click the Ellipses button (three dots) and select the default label printer. The printer paper types are loaded for the printer you selected (plus any custom ones that may have been created if this is not your first time in this module).
- Select the Paper from the droplist. (To create a paper type, see the procedure below this one.)
- Click the Orientation droplist and select from the list displayed. Some clients find that Reverse Landscape works best for some labels because of the margin settings.
- Click Apply and OK to save your settings.
Note: If you create new paper types they can be seen by all users but the actual paper selection and orientation are only set for the current user.
Create a Paper Type in the Optional Label Printing Module
- Press and release the Alt button on the keyboard, click File and select User Preferences from the list displayed.
- Click the Labels button.
- Click the Manage button to the right of the Paper dropdown.
- Click the Add button.
- Type in a name for your paper.
- Specify the Height and Width, in inches.
- Type in the values for the margins.
- Click OK to create.
Printing a Label Using the Optional Label Printing Module
- Press and release the Alt button on the keyboard, click File and select Labels from the list displayed.
- Select the appropriate label from the list displayed. The Accuro Print Label window is displayed. The image on the right is how the label will look when printed.
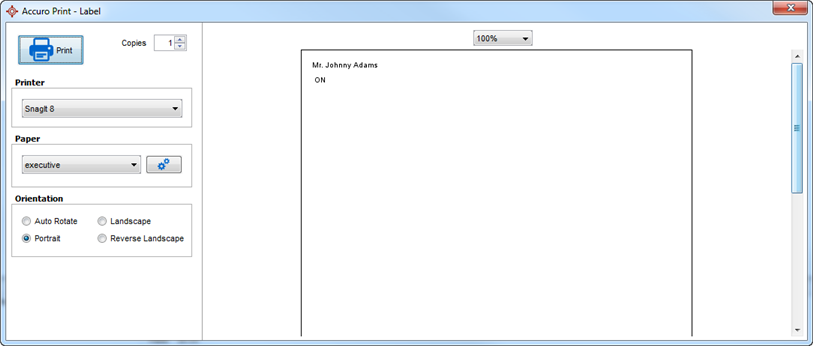
- Change the Printer, Paper or Orientation in this window if required. These changes are only for the label being printed and do not update User Preferences.
- Click the Gear icon
 if a new paper type needs creating. The Edit paper window is displayed. Create the paper type as detailed in the procedure above. If a paper is created here it will be available for all users.
- Click Print to print the label.